Bud Vape NZ has become a popular choice in the vape market due to its superior flavour and performance. However, for many vape newbies, its usage is still confusing.
For this reason, the Vape Pens NZ team has taken the classic Bud Pod Kit as an example, tested 35 Bud Pod Kits, and summarized the easy and practical Bud vape instructions.
The instruction mainly includes the following 6 steps:
- Open the package and remove the Bud vape kit
- Insert the Bud pod into the Bud device
- Click “B” 5 times to turn off the child lock
- Start vaping Bud Pod Kit
- Charge the Bud Pod Kit
- Store the vape in a cool, dry place
Next, let’s learn more about the instructions to maximize the enjoyment of Bud vape flavours and prolong its lifespan!
GOGO Shock E12000 Pod Bundle | Save $24.96 Now!
The GOGO Shock E12000 is a top-choice vape pod system! With 10+ easy flavour swaps, a secure child lock, and a smart LED indicator, it suits every vaper. Get yours at Vape Pen Online NZ with bundle deals starting from just $39.98!
Introduction
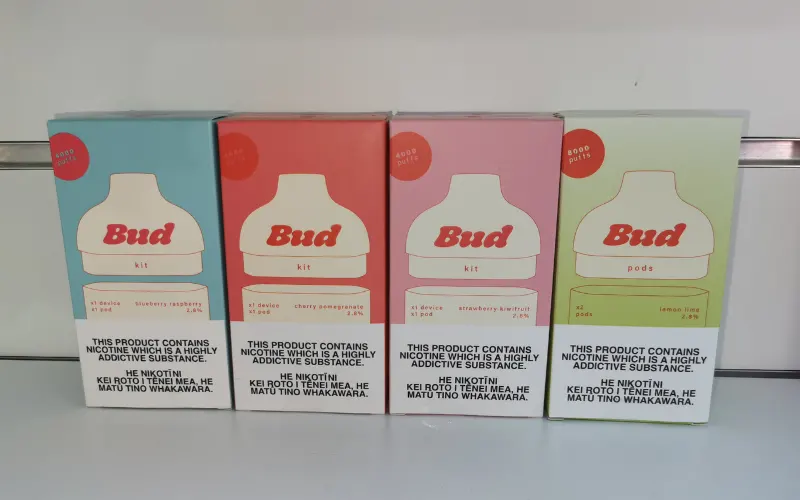
What is a Bud vape kit? The Bud Pod Kit is the newest vape from the Bud brand.
With its integrated mesh coil, smart power indicator, and secure child lock for a superior vaping experience, the Bud Pod Kit has become a star product in many New Zealand stores.
Proper usage is essential for optimal performance and vape flavour. Below are specific steps to help you resolve any concerns about using and ensure a better experience!
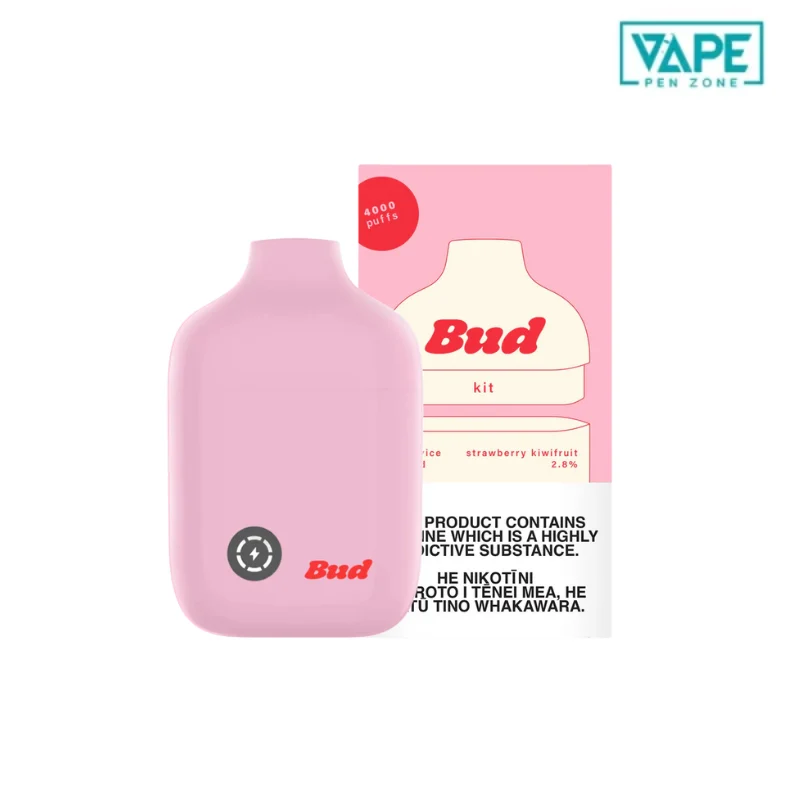
Bud Tank Vape
Bud Vape Instructions – 6 Easy Steps
#1 Open the package and remove the Bud vape kit
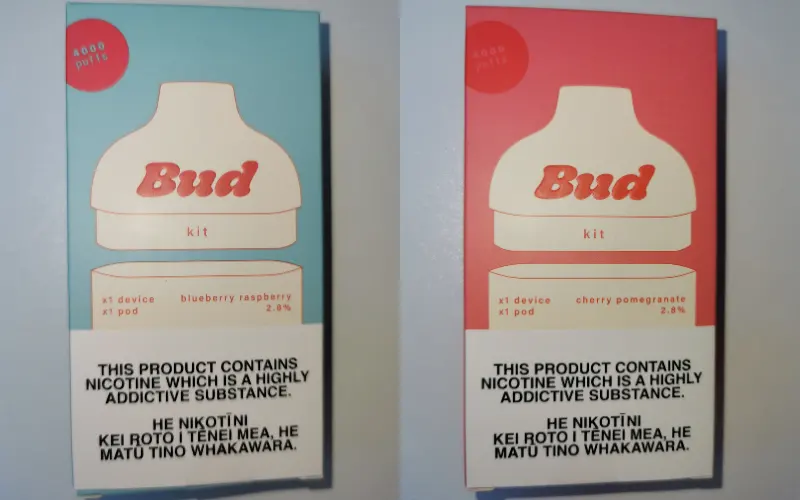
After receiving the Bud Pod Kit package, please gently open the product package and take out the following items:
- 1 x Bud prefilled pod vape kit
- 1 x Charging cable
- 1 x User manual
Please check if the items inside the package, especially the Bud Pod Kit, are intact and undamaged. If there is any damage, please contact customer service to deal with it.
#2 Insert the Bud pod into the Bud device
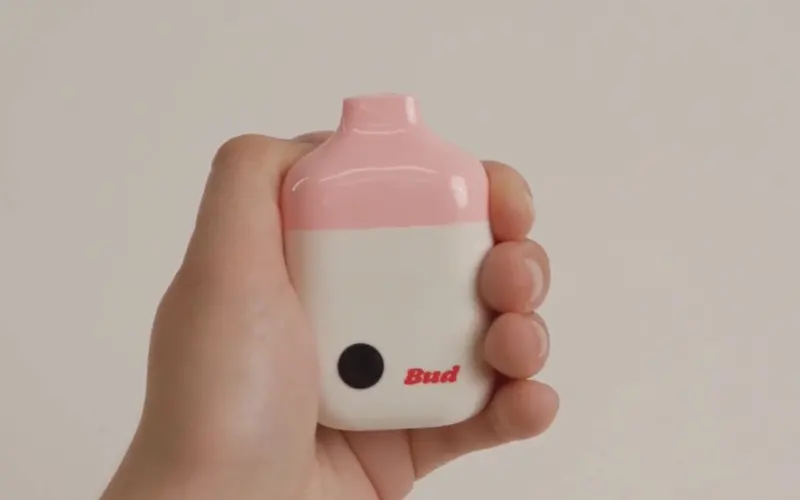
Now, you need to align the notch of the Bud device and slowly insert the Bud vape pod. When the two are successfully connected, it will make a ta-da sound.
However, before doing this, peel off the sticker of the pod and remove the silicone plug at the top of the mouthpiece.
Note: Replacing the Bud pod with a new one is done in the same way, simply pull the old pod upwards and insert the new one.
#3 Click “B” 5 times to turn off the child lock
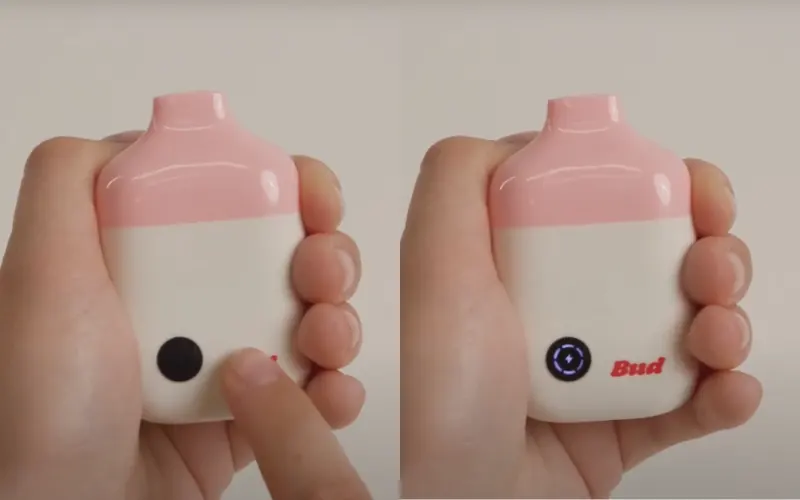
The Bud Pod Kits are equipped with a secure child lock that, when turned on, prevents the devices from being turned on accidentally.
Therefore, you will need to unlock the Bud vape child lock after inserting the vape before you can start using it.
To turn the Bud Pod Kit’s child lock off or on, simply tap the “B” on the Bud logo on the front of the device five times.
In addition, the device is equipped with a 10-minute auto-lock feature, which automatically locks the Bud Pod Kit after you stop using it for more than 10 minutes.
Repeating the above can turn off the child lock again. For visual instructions, you can refer to this YouTube video: https://www.youtube.com/watch?v=lbV9tbAFCyk.
Note: To turn off or on the Bud Disposable Vape NZ‘s child lock, quickly touch the device’s charging port 5 times.
#4 Start vaping Bud Pod Kit
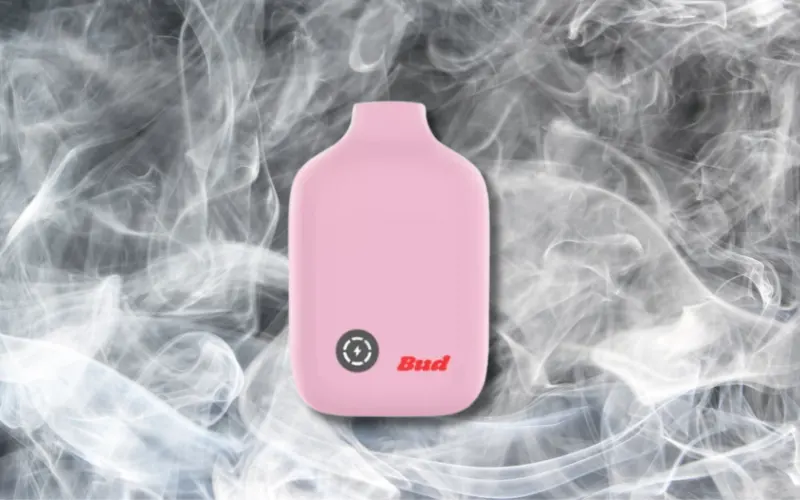
Now you can start vaping the Bud Pod Kit in your hand! How to turn on Bud pod vape? It doesn’t need to be complicated.
A gentle inhale into the mouthpiece activates the Bud replacement device, drawing the vapour into your mouth and then into your lungs, holding it for about 3 seconds to exhale the vapour.
#5 Charge the Bud Pod kit
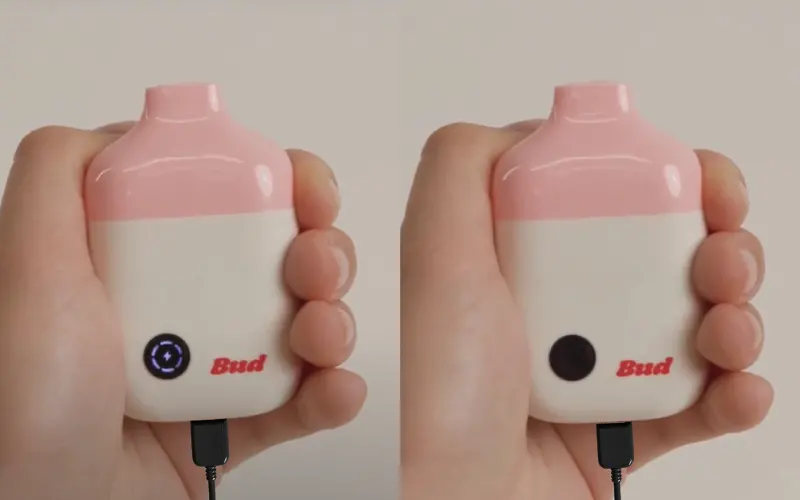
When used for some time, the Bud Pod Kit may run out of power, at which point it will need to be recharged.
The proper way to charge the Bud Pod Kit is to connect the Type-C cable to the power supply and the charging port on the bottom of the device.
Charging is complete when the white light stops flashing after about 30-60 minutes.
#6 Store the vape in a cool, dry place
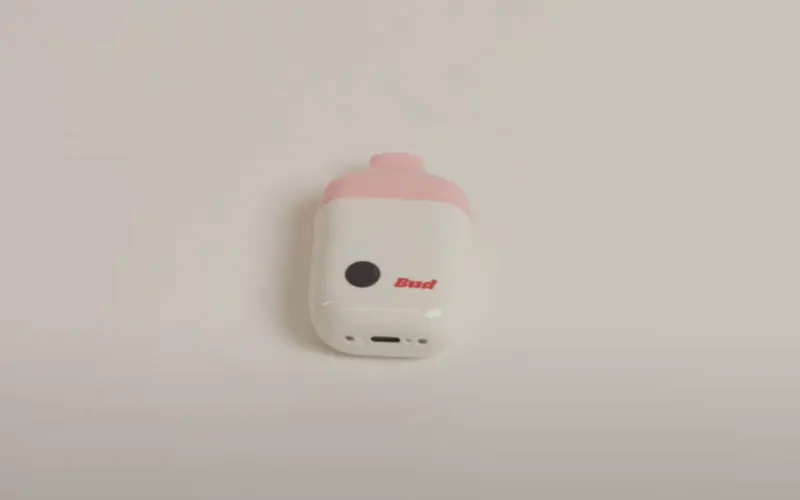
To ensure the performance and longevity of the Bud Pod Kit, it is recommended that it be stored in a cool, dry environment.
The ideal storage temperature range is 10°C to 25°C.
Bud Vape Instructions – Common Problems
How do I clean the Bud vape kit?
It is recommended to use a damp paper towel to clean the mouthpiece and casing of the Bud Vape Kit and a dry cotton swab to gently wipe the contacts where the vape pod connects to the device.
Regular cleaning 1-2 times a week can effectively remove the dirt on the surface of the Bud Pod kit and avoid poor contact at the connection area to keep the device in good performance.
Why is the Bud Pod Kit not working?
The most common reasons for the Bud vape not working are a low battery, the child lock not being turned off, and a bad connection between the device and the pod.
It is recommended to follow the Bud vape instructions to solve the above problems before trying to use it again.
Why does my Bud Pod Kit taste burnt?
A common reason for the Bud Pod Kit to taste burnt is the dry burning of the atomizer due to too long of continuous inhalation and insufficient vape juice.
To avoid this, it is recommended to inhale for no more than 5 seconds at a time and keep a proper interval between puffs.
If the burnt flavour still exists, it may be due to insufficient e-liquid and it is recommended to directly replace the Bud replacement pods with a new one to ensure a better flavour experience.
Verdict
With the above Bud vape instructions, I believe you have perfectly mastered the use of Bud vapes! Now pick up the Bud vape in your hand and start enjoying the ultimate flavour feast!
If you want to know more about the popular vapes in New Zealand or offers, VapePenZone NZ welcomes you!
Related Articles:
