If you are a new user of the IGET Bar Plus 10000 Puffs or are confused about how to charge it, we have put together detailed IGET Bar Plus charging instructions for you. With the following five simple steps, you can easily complete the charging process:
- Preparation tools
- Remove the IGET Bar Plus cartridges to protect the e-liquids
- Plug the type-C cable into the charging port
- Wait for charging, about 30-60 minutes to full
- Unplug the power supply
VapePenZone Online NZ has gone through many tests to summarize the best charging process and share it with you. For a safe and efficient way to charge your IGET Bar Plus, read on for more details!
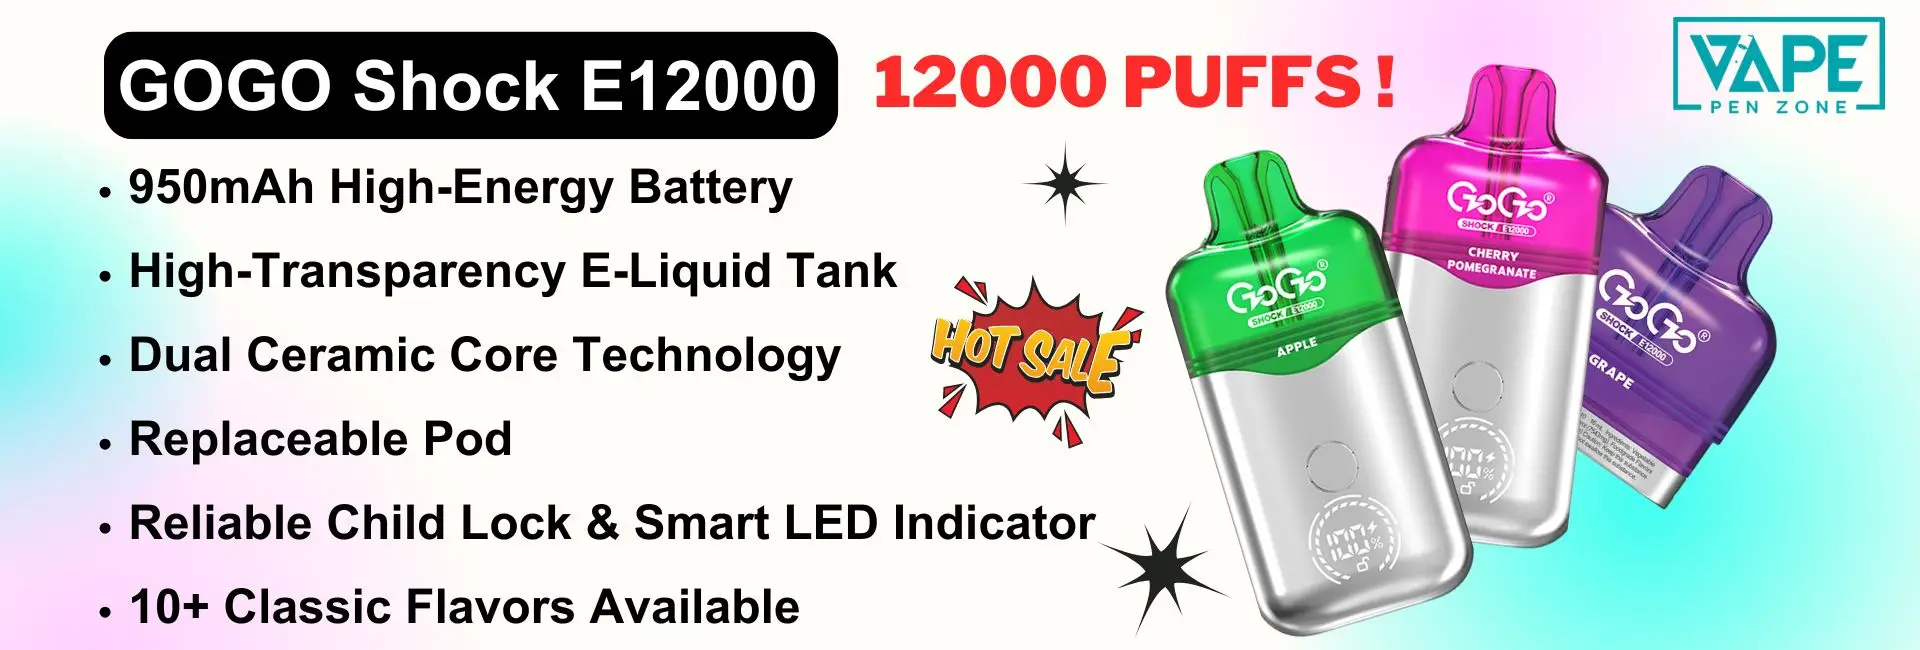
GOGO Shock E12000 Pod Bundle | Save $24.96 Now!
The GOGO Shock E12000 is a top-choice vape pod system! With 10+ easy flavour swaps, a secure child lock, and a smart LED indicator, it suits every vaper. Get yours at VapePenZone with bundle deals starting from just $39.98!
Introduction
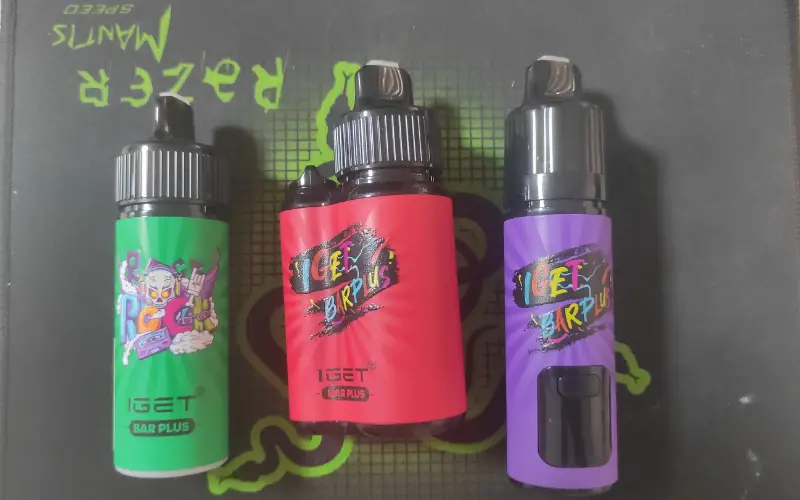
The IGET Bar Plus is a rechargeable pod system vape compatible with the IGET Bar Plus Pod 1.0, 2.0, and 3.0 that stands out in the marketplace with its sleek design and superior performance. It’s the best 10k puff vape.
This big vape cloud is dense and has a rich, smooth flavour that is on fire in New Zealand.
From the IGET Bar Plus kit 1.0 to 2.0 to 3.0, the series has seen design improvements along with performance upgrades, making it one of IGET NZ‘s best-selling e-cigarette products.
IGET Bar Plus Charging Instructions: 5 Detailed Steps
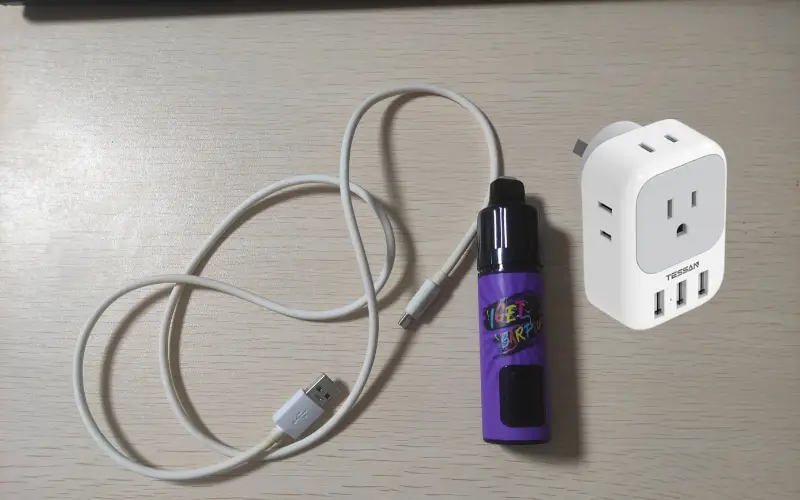
1. Preparation tools
Before you start charging, please prepare the following tools: IGET Bar Plus device, Type-C charging cable, USB-C charger, and the appropriate power supply.
- Charging cable: Please use only Type-C cables. Other types of cables, such as lightning or thunderbolt, are not compatible.
- Charger: Select a USB-C charger that meets the current and voltage requirements of the IGET Bar Plus.
- Power: Use an outlet, USB port, wall adapter, laptop or desktop computer as a power source.
Ensuring that you have all the tools helps to achieve a safer and more efficient charging experience.
2. Remove the IGET Bar Plus cartridges
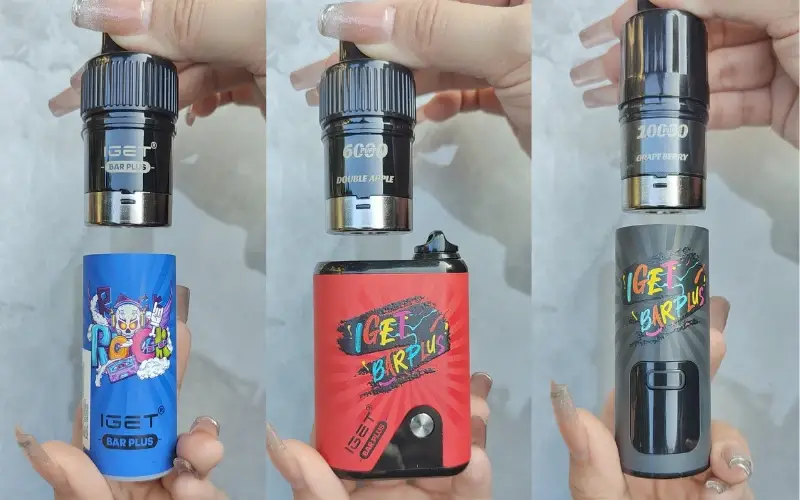
There will be a slight “plop” sound when holding the mouthpiece and pulling the IGET Bar Plus Pods NZ out of the device with force.
During the charging process, the device may heat up slightly, causing the e-liquid in the cartridges to leak out due to temperature changes. This could contaminate the connection area or the charging port.
Therefore, removing the pod is an important step to ensure safe charging.
However, this step is not required for rechargeable IGET disposable vape.
3. Plug the Type-C cable into the charging port
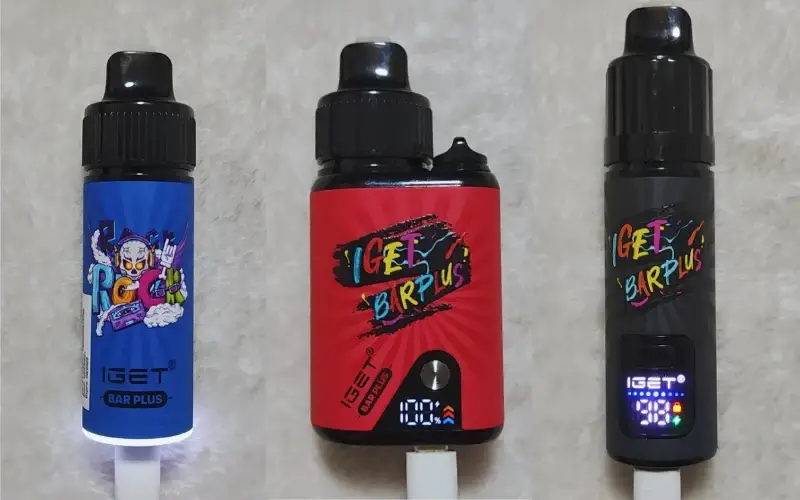
Locate the Type-C charging port on the bottom of the device, plug in the appropriate USB-C charging cable and turn the power on.
At this point, the indicator light or LED display will change to indicate that the device has started charging.
Below is a table of the LED status of the IGET Bar Plus 3.0, 2.0 and 1.0 when charging is initiated:
| Device | LED Status |
| IGET Bar Plus 1.0 | The ring indicator at the bottom lights up and stays on constantly. |
| IGET Bar Plus 2.0 | The white lightning icon on the LED smart display flashes continuously while the coloured arrows flash upwards. |
| IGET Bar Plus 3.0 | The green lightning symbol is displayed on the LED smart screen and flashes continuously. |
4. Wait for charging, about 30-60 minutes to full
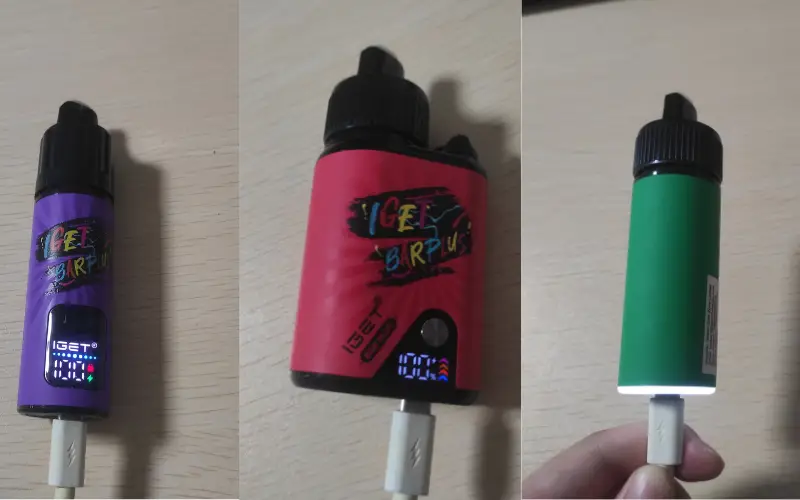
Charging is complete when the following changes occur in the status of the IGET Bar Plus LEDs. The following is the status of the LEDs for the different models.
- IGET Bar Plus 1.0: The bottom circular LED light turns off.
- IGET Bar Plus 2.0: The number on the LED smart screen displays 100%.
- IGET Bar Plus 3.0: The numbers on the LED display show 100%.
5. Unplug the power supply
When charging is complete, unplug the charger to avoid overcharging and overheating the device. Charging time is usually less than 1 hour.
Re-insert the Pod into the device, making full contact with the magnets inside until you hear a “plop” sound.
Finally, activate the child lock and start enjoying the delicious vapour.
Watch the video for more details: https://www.youtube.com/watch?v=fjdTIAxDpp0
Why Isn’t My IGET Bar Plus Charging?
Dirty or damaged charging port
Dust, dirt, or nicotine e juice NZ residue may accumulate on the battery connections and interfere with the charging process. Please use a cotton swab or soft cloth to clean the battery contacts.
Faulty charging cable
Please use a compatible USB-C charger and check the charging cable for visible damage or wear. If problems are found, please replace the charging cable with a new one.
Battery problems
Over time, the vape battery may degrade, resulting in an inability to charge. Since the battery cannot be removed from the IGET Bar Plus, consider replacing the device with a new one.
IGET Bar Plus Charging Tips
#1 Avoid overcharging
Keep the device in sight during charging and ensure that it is unplugged in time to prevent battery damage due to overcharging.
#2 Clean the charging port regularly
Clean the charging port regularly with a clean cotton swab or paper towel to avoid the accumulation of dust or dirt that may affect the charging effect.
#3 Dispose of depleted batteries properly
When the battery is depleted, please take the device to the designated recycling point for proper disposal.
#4 Avoid repeated charging
Repeated charging may affect the flavour and performance. When the battery reaches the end of its useful life, replace it with a new IGET Bar Plus or purchase a replacement device at your nearest IGET vape store.
Conclusion
By following the IGET Bar Plus charging instructions above, you can easily and safely charge your IGET Bar Plus.
If you would like to purchase more devices or learn more about charging your e-cigarette, feel free to visit Vape Pens NZ.
