As a new user of the Vuse Alto, you may be concerned about how to charge a Vuse Alto properly and extend its life possibly.
Fear not! In this guide, the VapePenZone team will not only help you to master how to charge your Vuse Alto but also conclude some recharging tips to maximise its life.
5 quick steps for charging your vape device are below for your reference:
- Remove the pod from the Vuse device
- Insert the bottom of the device into the charger
- Connect the cable of the charger to the power supply
- Monitor charging progress for 60-90 mins
- Disconnect the device from the charger
Get ready to unlock more potential of your Vuse Alto by mastering the following tips.
Introduction
As you begin to use this advanced vape, there is one key aspect to master: charging.
To ensure a seamless recharging experience, our team spent a month researching tips and ways of how to properly and safely charge a Vuse Alto vape.
In the process, we identified common charging issues and summarised some tips to improve its performance.
Therefore, we sincerely hope that this guide will make it easy for you to understand how to charge your Vuse Alto and pass on our helpful charging tips to every vaper below.
What Items Needed Before Charging?
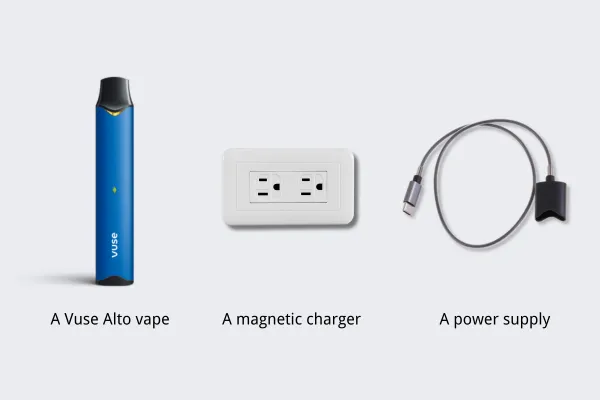
- A Vuse Alto vape
- A magnetic charger
- A power supply
You will need 3 items to complete the charging activity.
It should be noted that vape can only use the original magnetic charger, ordinary chargers can not be adapted with Alto.
You can also choose the most convenient power source to charge your device, such as wall power, computer power, power bank, or car power……
How To Charge A Vuse Alto Properly?
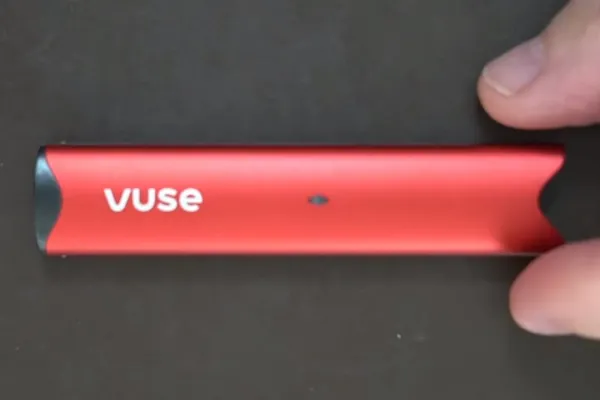
After you get the tools for charging, let’s follow the below step-by-step charging guide.
#1 Remove the pod from the Vuse device
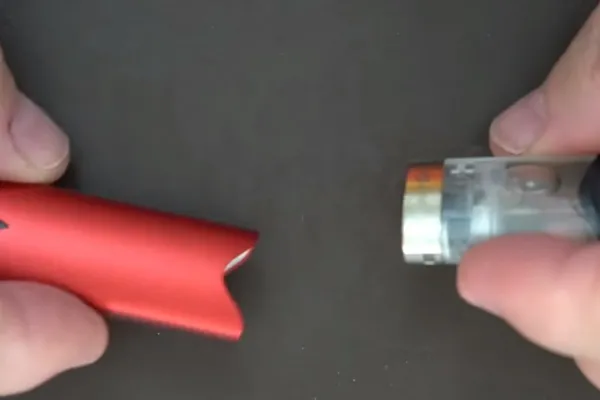
Firstly, simply gently remove the pod from the top of your device to make sure the pod isn’t placed on the device.
Although Vuse Vape NZ officially claims that you can vape while charging, we don’t actually recommend doing so. Doing so can cause the battery to overheat and damage its health.
💡When charging, the vape’s temperature will rise due to the heat generated by the battery, leading to overheating.
In this case, frequent use may accelerate the aging of the battery, shorten its service life, and, in more serious cases, may even lead to the risk of fire or explosion.
#2 Insert the bottom of the device into the charger
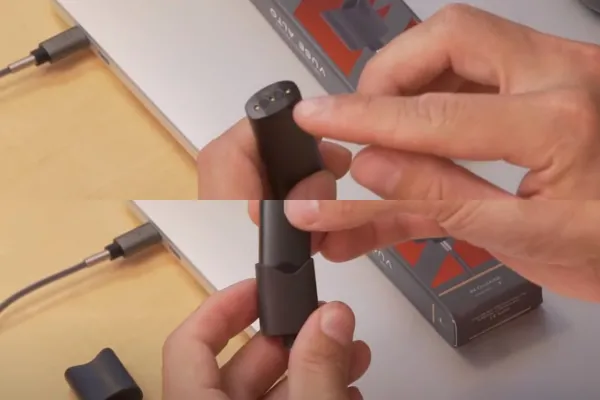
Simply align the bottom of the device with the charger cable’s magnetic charging port and gently push it in.
There is no need to apply excessive force, and the magnetic design assists an easy connection to the charger.
You will hear a click sound, which means the device is connected to the charger successfully.
#3 Connect the cable of the charger to the power supply
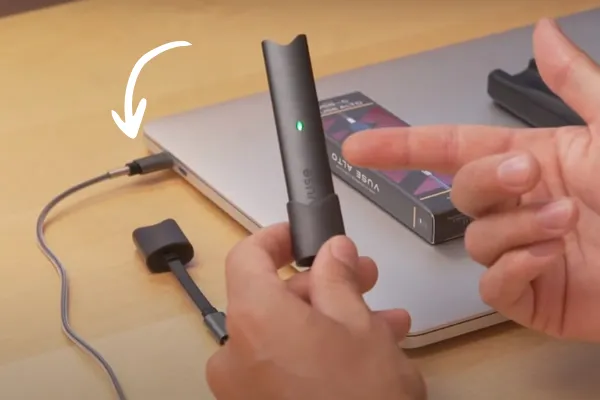
Next, simply plug the charger cable into the power supply and a closed circuit is formed.
At this point, if the LED lights up in green, the charging has been successful.
If the green light keeps blinking, charging may have failed due to wrong contact with the charging connector.
You will need to re-insert the device into the charger to ensure that the connection is correct and not loose.
#4 Monitor charging progress for 60-90 mins
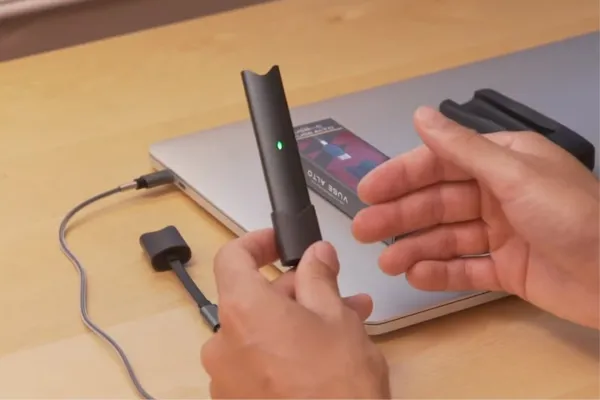
Once the green indicator light comes on, simply wait for approximately 60 to 90 minutes until the light turns off and the charging process is complete.
💡Do not leave your device unattended overnight for charging, as this can lead to overheating or even explosion, which is very dangerous.
#5 Disconnect the device from the charger
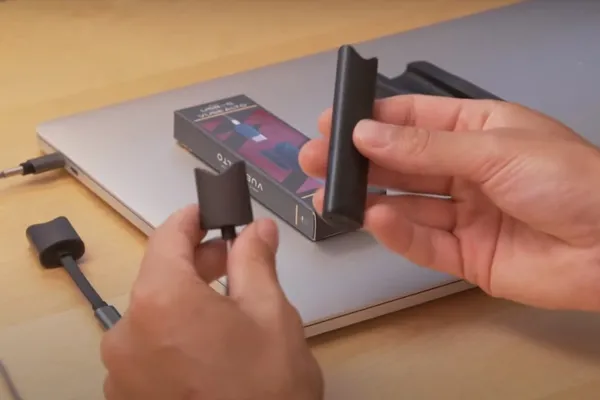
When charged fully, you need to disconnect the device from the power charger immediately.
💡Make sure a safe power-up is done. If you feel the device gets hot, please plug it out from the charger.
When Do You Need To Charge A Vuse Alto?
When you are experiencing the following situations, it’s time to charge your vape.
🔔When the green LED light blinks 10 times
The green LED in the centre of the device’s battery blinking 10 times in a row is a clear signal that the battery is low and needs to be recharged.
🔔When the device produces less vapour
Reduced vapour is also a sign of low battery power.
When the battery of the device is low, it may not have enough power to ignite the e-liquid properly, resulting in reduced vapour output.
🔔When long periods of non-use:
When you don’t use your Vuse vape regularly, charging it regularly is a great way to protect the battery. It can protect your battery from ageing and keep it healthy over time.
How To Charge A Vuse With A Phone Charger?
First of all, cut the outer sheath on one end of the USB small header. A typical cable contains a black wire and a red wire.
Next, you need to connect the red wire to the positive terminal of the vape charging port and (in the middle hole) the black wire to the negative terminal (in the left hole).
Then, plug the other end into a power supply. Lastly, power up your device about 4 – 6 times for about 5 minutes each time.
If you feel that the battery is getting hot, stop powering up immediately and recharge the battery when it returns to normal temperature.
But we don’t recommend you do so. The safest and most convenient is to use an original charger.
What Does A Vuse Charger Look Like?
There are two main forms of Vuse chargers that we are aware of: the original magnetic charger and the portable BRIK portable charger designed specifically for Vuse Alto models.
⚡The orignal magetic charger
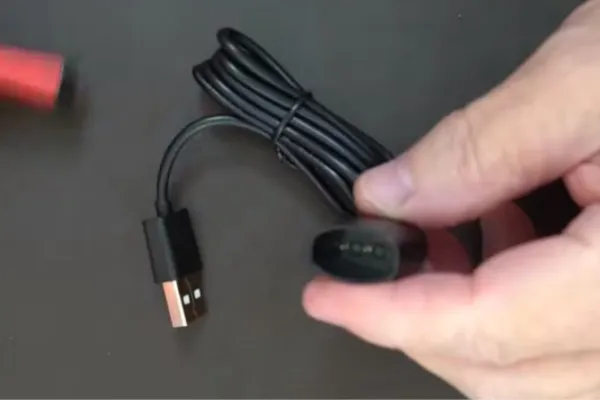
Safety is a top priority for vapers using original chargers from Vuse NZ. The original magnetic charger prevents potential explosions by preventing overcharging and high-voltage chargers.
⚡The BRIK portable charger
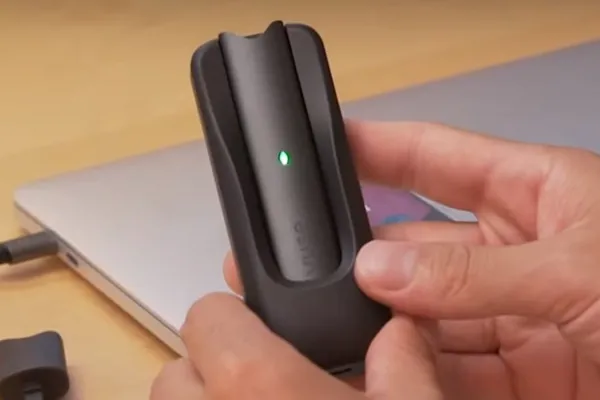
The BRIK portable charger offers convenience with its portability, allowing users to charge and vape at the same time.
However, it is important to prioritise safety and choose the charger that best suits your needs and device specifications.
Where Can I Buy A Vuse Charger?
If you are looking for a charger for your Vuse vape, consider a convenient option by searching for “Vuse Alto charger near me” or “Vuse Charger near me” on Google Maps.
If you don’t have time to go out or don’t feel like going out, you can also shop online at VapePenZone NZ. Enjoy convenient shopping without leaving home.
Verdict
That’s all about how to charge a Vuse Alto, which deeply researches the charging process, as well as reminding that safety comes first.
If you find any other issues with vaping, please leave your comments. Our team will be pleased to provide you with more support.
FAQ
How do I charge my Vuse without a charger?
1. Make a DIY cable by stripping the outer sheath of a USB header to expose the coloured wires, typically black and red.
2. Connect the red wire to the positive terminal and the black wire to the negative terminal of the vape charging port.
3. Plug the other end into a power supply; a green light indicates the device is recharging.
4. Charge the device for 5 minutes, 4-6 times.
How To Charge A Vuse ePod 2?
You should put the Vuse ePod 2 vape into the magnetic charger and then connect the charger to the power supply. Charging is complete after about 60 minutes.
If you want to know more details and tips, this ultimate guide: How To Charge Vuse ePod 2 will be greatly helpful for you.
How do you know if a Vuse Alto is fully charged?
When the green LED goes out, the Vuse Alto is fully charged. At this point, it is time to take out the device from the charger.
How do I charge my Vuse with USB C?
Different models of Vuse have different charging methods. Here are some common models for your reference:
Magnetic charging cable: Vuse Alto, Vuse ePod, Vuse ePod 2, and Vuse ePod 2+
Type-C cable: Vuse GO 3000, Vuse GO 5000, and Vuse GO 8000
Micro USB cable: Vuse eTank Mini


