Are you trying to charge Vuse ePod 2 but tired of the lengthy instructions manual? Just end your long rummage right here!
Here is the most complete one-stop guide on how to charge Vuse ePod 2! Only 5 steps to get your vape back to life!
- Check light signal and e-liquid remaining
- Connect the magnetic charger to the bottom contacts
- Connect the magnetic charger to the power source
- Monitor the device while charging
- Plug out the magnetic charger from the power source and the device
If you want a more detailed explanation of charging signals and safety tips, keep reading to know more!
Introduction
Vuse ePod 2 Vape is a pod vape renowned for portability and sleek design in New Zealand, featuring pod-replaceable and rechargeable functions.
Despite its simple recharge process, many people haven’t mastered the best charging method for optimal performance.
In the past 2 months, I’ve been charging my ePod 2 vape every 1-2 days, and I’ve summarized some tips for Vuse ePod 2 charging time, signals and lasting period.
If you’re an efficiency seeker who hates reading lengthy manuals, everything you need is in this simple graphic guide to save time and avoid stepping into the mine!
How To Know When To Charge Vuse ePod 2?
At the beginning, here are some low battery signals you should know about charging Vuse ePod 2:
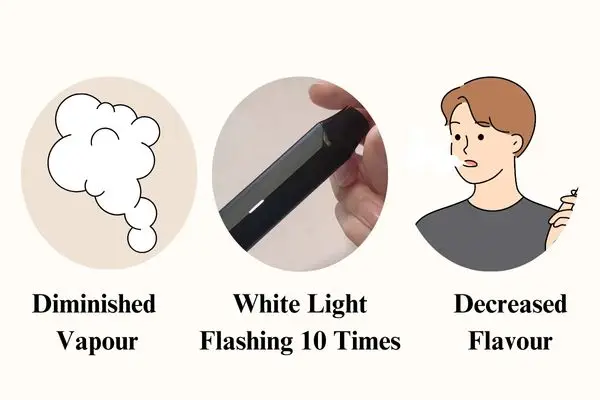
💡 1. Diminished Vapour
The low battery power fails to support the atomizer working efficiently, leading to diminished vapour.
It may also result from insufficient e-liquid but drained e-liquid usually comes with a burnt taste, while low batteries do not.
💡 2. White Light Flashing 10 Times
When ePod 2 flashes a white light 10 times, it’s a low battery signal to remind you to charge in time.
💡3. Decreased Flavour
The low battery is not available to support the atomization, leading to reduced throat hits.
It may also lead to decreased flavour if you choose lower nicotine concentrations when changing pods. Please confirm it by checking the specifications on the pod package.
Tools Preparation About Charging Vuse ePod 2
Before the operations, you should prepare the following tools:
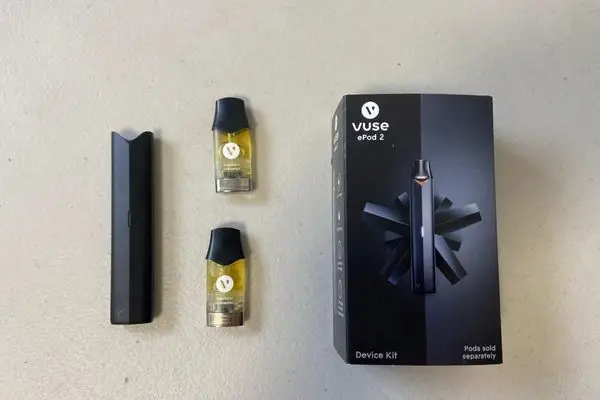
- ePod 2 device
- ePod 2 magnetic charger
- A power source (Wall charger, computer charger or portable rechargeable battery)
- ePod 2 pod or other e-liquid refill (optional)
It should be mentioned that the ePod 2 device is only compatible with the bundled magnetic charger and cannot be replaced by other chargers.
If you lost the magnetic charger, please contact customer service or purchase a new device kit.
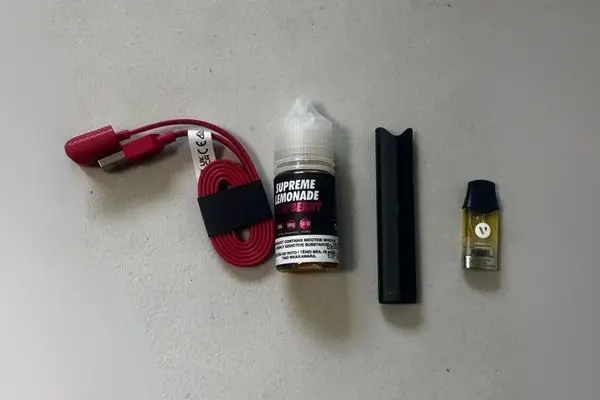
How To Charge Vuse ePod 2 Pro?
Let’s take a quick look at a video about a successful recharge to ePod 2, followed by a detailed graphic explanation and tips from my vaping experience.
Thanks for some pictures shot by the VapePenZone New Zealand team. They are helpful in providing lots of experience with the Vuse NZ version.
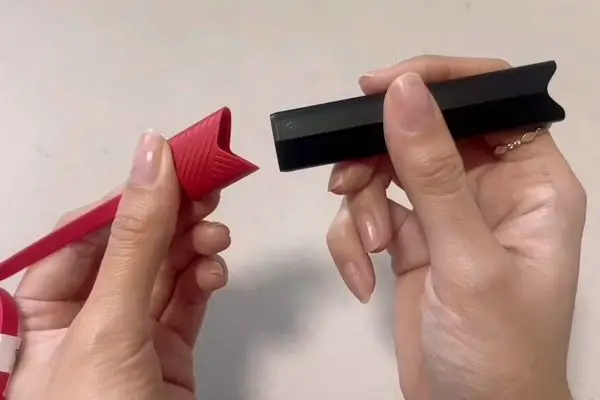
#1 Check Light Signals And E-Liquid Remaining
Before the operations, there are 2 things you need to check on the device:
1. LED Light Signals
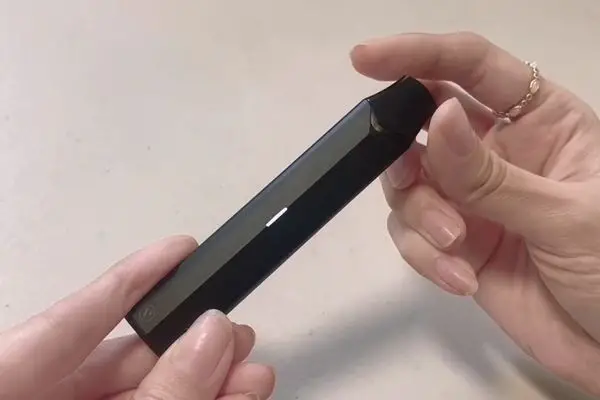
It’s best to charge the battery before it gets too low, even if the device has a warning flashing light 10 times to remind you.
As frequent battery draining may accelerate battery aging and reduce battery life, the appropriate recharge frequency is daily.
2. E-Liquid Remaining
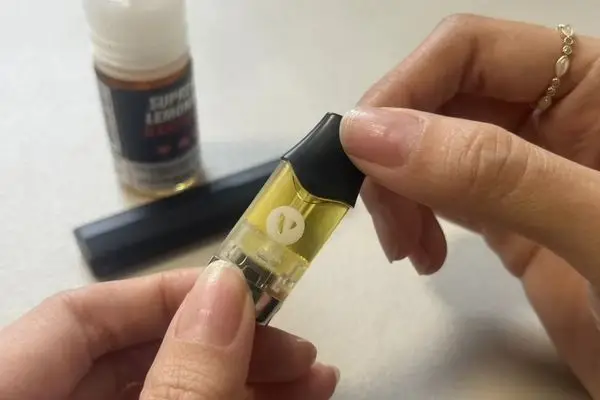
The second thing is to check the remaining e-liquid and replace the Vuse pod in time, ensuring that the atomizer works properly after charging.
Simply detach the mouthpiece from the device and pull out the pod, then inspect the transparent pod tank to measure the remaining e-liquid.
#2 Connect The Magnetic Charger To the Bottom contacts
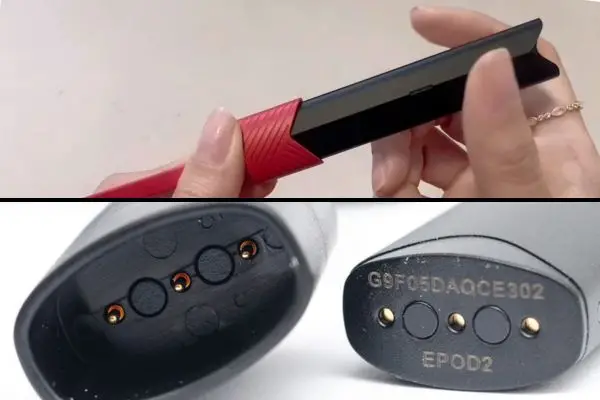
Fetch the ePod 2 Vuse magnetic charger and plug the device into the groove of the charger at the bottom of the device.
Magnetic contacts located in the groove automatically hold the contacts at the bottom of the device in place.
#3 Connect the Magnetic Charger to the Power Source
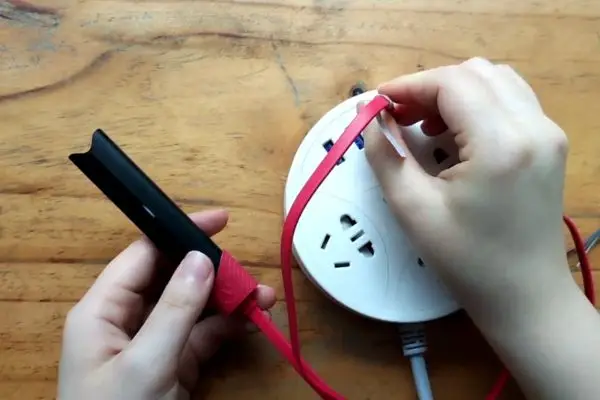
Then, plug the charger into the power source. Once the power is on, you will see a flashing white light.
By the way, we suggest removing the Vuse vape pods before switching on the power.
Although recharge doesn’t directly damage the pod, overheating may cause e-liquid to decompose, reducing flavour and atomization efficiency.
#4 Monitor The Device While Charging
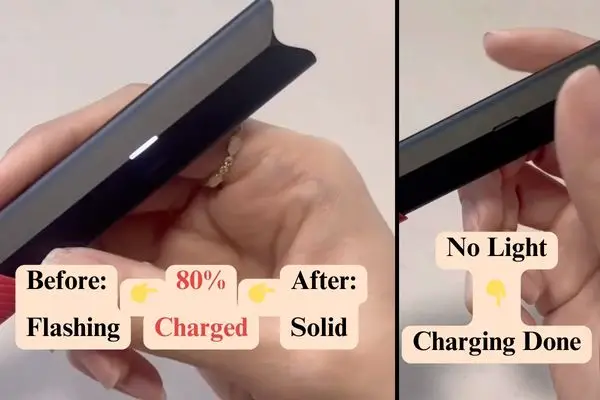
While charging, the ePod 2 device shows different lights, indicating different battery statuses:
- Battery power < 80%: flashing white light
- 100% < battery power < 80% : Solid white light
- 100% = battery power: No light
During this process, you mustn’t leave the device unattended in case of safety risks brought by overheating or strange noises.
The appropriate temperature range for ePod 2 Vape is 0°C – 25°C, with an optimal temperature of 25°C.
Watch out for overheating or strange noises. If these situations happen, stop powering up at once and wait 5 minutes before restarting the powering up.
#5 Plug Out the Magnetic Charger From The Power Source and The Device
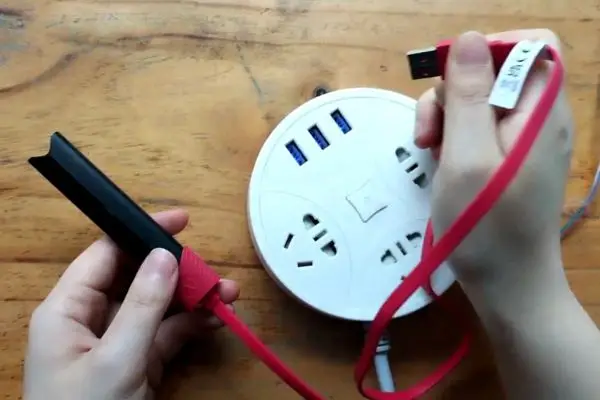
After waiting for about 60 minutes, you can unplug the Vuse ePod 2 charger and switch off the power.
If you forget, it will stop recharging automatically after 3 hours. But we still advise you to charge for no more than 1 hour to avoid overheating.
Check if the LED light is off, which is a signal for a full charge. Insert the Vuse ePod into the device, and you can see a white light flashing again.
At last, you can draw a puff to see if the flavour becomes stronger and if there is more vapour than before.
How To Charge Vuse ePod 2 Without Charger?
Powering up by means other than the magnetic charger is generally not recommended.
However, if the compatible charger is lost, you can try this disassembly method to recharge the battery, with all disassembly results counting as your own risk.
🔋 1. Make a DIY charging cable by cutting it with scissors and tearing the insulator layer. (Type-C, Micro USB or Lightning cables are all suitable)
🔋 2. Align the DIY charger’s wire to the contacts at the bottom of the device.
- Red wire: Applied to the middle contact.
- Black( or Blue) wire: Applied to the left contact.
🔋 3. Plug the DIY charger into a power source.
🔋 4. Stop charging every 15 minutes and finish it in 4 sessions.
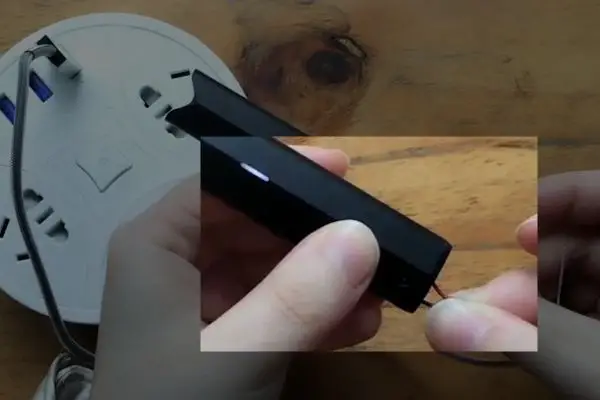
Given that this method is more likely to cause battery overheating, you should always keep an eye on the device’s temperature in case of safety risk and battery damage.
How To Charge Vuse ePod 2 Reddit
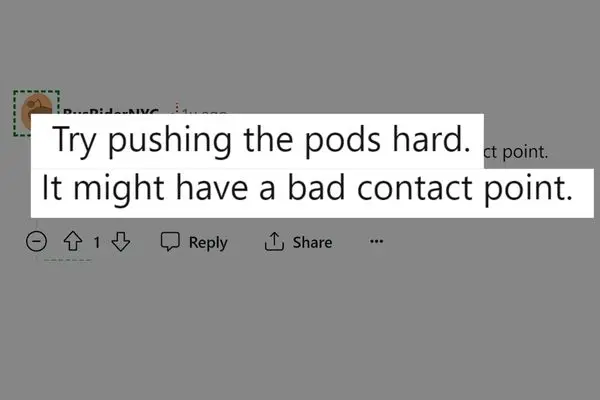
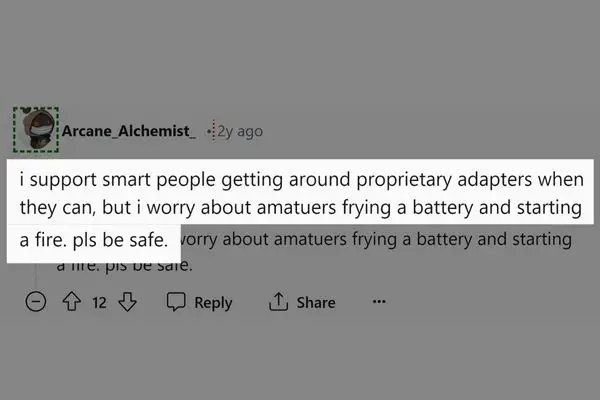
To gather user concerns and solve these common problems, we found a few posts on Reddit.
The comments on these posts can give you some solutions to your ePod 2 not charging or some suggestions for unconventional charging methods.
How To Know When Vuse ePod 2 Is Fully Charged?
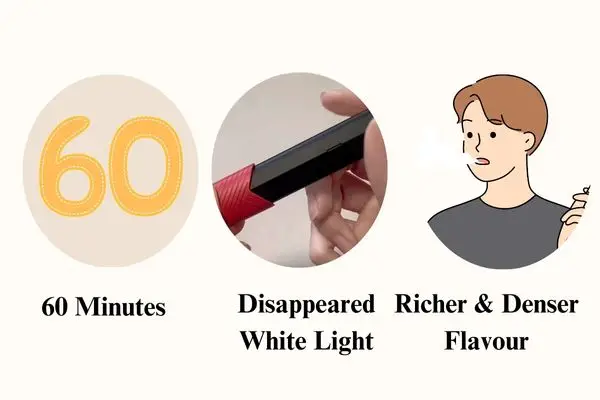
When the recharge is done, you can check if the ePod 2 Vape is fully charged by these signals from 3 dimensions:
| Time | Light | Flavour & Vapour | |
|---|---|---|---|
| 80% charged | 35 minutes | Constant white light | \ |
| 100% charged | 60 minutes | Disappeared white light | Richer & Denser |
So, just wait for around 1 hour and check if there is no light on the device, then you can puff it to experience a richer and denser flavour and vapour after fully charge.
How Long Does A Vuse Last Fully Charged?
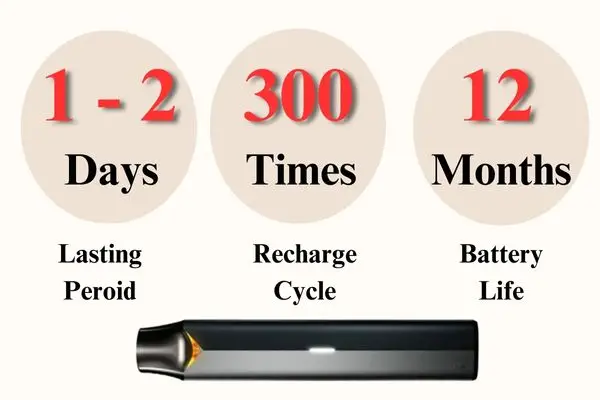
Taking the Vuse ePod 2.0 as an example, it can last for 1 – 2 days after being fully charged. Its battery supports 300 recharge cycles approximately and lasts for roughly 12 months.
However, frequent recharge or battery draining leads to battery aging, which causes longer charging time and lower battery efficiency.
It’s recommended that you replace the device every 3 – 4 months to maintain optimal e-liquid flavour and to prevent battery degradation.
What’s more, it is also important to replace the Vuse ePod 2 refill every 1 – 2 days to ensure a sufficient e-liquid supply for the atomizer.
Failure to do so may cause the battery power to heat up the coils and wick, resulting in reduced efficiency and a burnt taste in the mouth.
Vuse Charging Lights
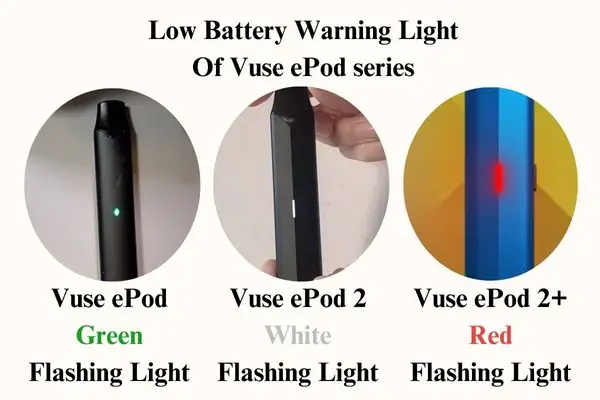
Are you still dazzled by the array of Vuse blinking while charging? Here are some charging light signals for different Vuse vapes to help you clarify your own model.
| Low Battery Warning | 80% Charged | 100% Charged | |
|---|---|---|---|
| ePod (Original) | Green flashing light (10 times) | Constant green light | Disappeared green light |
| ePod 2 | White flashing light (10 times) | Constant white light | Disappeared white light |
| ePod 2+ | 30% Battery: Red flashing light and vibrating 10% Battery: vibrating again | Constant red light | Constant green light gradually disappeared |
Vuse ePod 2 Not Charging
Based on my previous vaping experience, here are some common reasons for the ePod 2 charge failure.
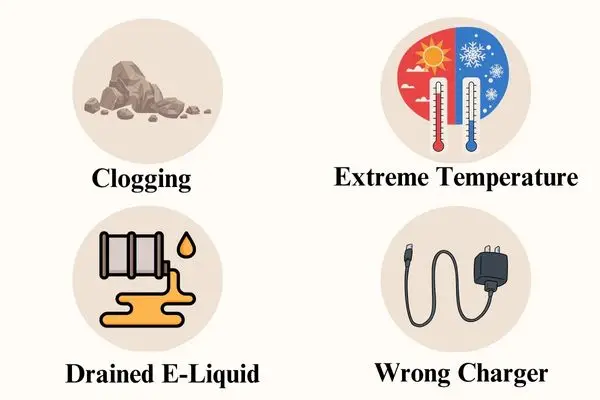
👉 1. Clogging
Clogging at the bottom contacts blocks the current flow into the battery, leading to charging failure.
👉 2. Extreme temperature
Extreme temperatures other than 0 – 25℃ will trigger an automatic shutdown, creating the misconception that the device is not charging.
👉3. Misread about charging failure
- Drained e-liquid: When e-liquid runs out, recharge is useless as the atomizer needs enough e-liquid to work properly, misleading you into a recharge failure.
- Wrong charger: The ePod 2 Vape is only compatible with the specialized magnetic charger, while other chargers lead to charging failure.
Vuse ePod Charger Price
The specialized magnetic charger is typically bundled with the device and not sold separately.
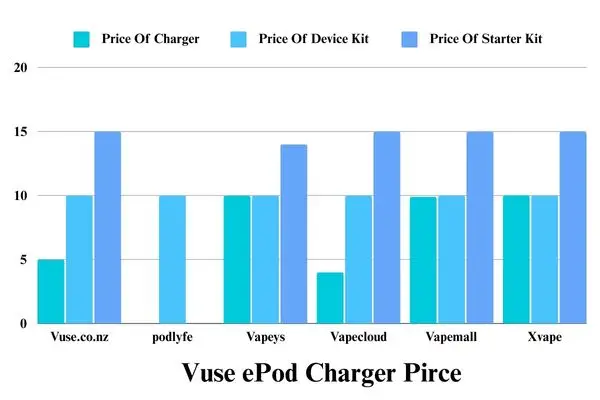
We’ve compiled a price list for the ePod 2 device kit and starter kit, which both contain the magnetic charger, from several Vape Shop Online NZ in the top 10 Google search results.
| Online Vape Shop | Price Of Charger | Price Of Device Kit | Price Of Starter Kit |
|---|---|---|---|
| Vuse.co.nz | $4.99 | $9.99 | $14.99 |
| Podlyfe | × | $9.99 | × |
| Vapeys | $9.99 | $9.99 | $13.99 |
| Vapecloud | $3.99 | $9.99 | $14.99 |
| Vapemall | $9.90 | $9.99 | $14.99 |
| Xvape | $10.00 | $9.99 | $14.99 |
Based on this data, it’s easy to find that Vuse Vape NZ fluctuates widely in charger prices but is consistent in their device and starter kit prices.
We recommend you choose a starter kit or device kit to save the budget and enjoy better vaping.
Verdict
Have you clarified all the charging tips? Why not get your hands on it to try it? Surely you are easy to give your ePod 2 a new lease of life too!
Next time you encounter any Vuse-related problems or other vaping issues, VapePenZone NZ is always here to provide you with the most comprehensive guides.
Choose VapePenZone NZ for 1 – 2 days of fast delivery and free shipping for orders over $50! Subscribe to us and solve your vaping problems faster than others!
FAQ About How To Charge Vuse ePod 2
How do I charge my Vuse 2 without a charger?
Generally, we do not recommend charging Vuse ePod 2 without a compatible magnetic charging cable.
If you lost the specialized cable, you could count this disassembling method as a stopgap while all risks are counted to your own:
1. Use scissors or a nail clipper to cut the insulator layer of a charging cable (Type-C, Micro USB or Lightning)
2. Align the two wires of the charger to the battery contact at the bottom of the device
3. Plug the DIY charger into the power source
4. Stop charging every 15 minutes and finish the process in 4 sessions
How do I know if my Vuse ePod 2 is charging?
The Vuse ePod 2 shows a flashing white light while recharging.
It turns to constant white light when the device is 80% charged and disappears when fully charged.
What charger does a Vuse ePod 2 use?
Vuse ePod 2 device is typically bundled with a magnetic charging cable, which can not be replaced by other Type-C, Micro-USB or Lightning charging cables.
Is a Vuse ePod 2 rechargeable?
Yes, Vuse ePod 2 is rechargeable and equipped with a compatible magnetic charger.
Just plug the device into the groove of the magnetic charger and connect the cable to the power source. The device keeps flashing a white light during power-up.
After waiting for around 60 minutes, you are allowed to plug out the charger from the device and power source.
How to charge Vuse Go?
The way to charge Vuse Go varies between different models.
The Go 500, Go 700, Go 800, and Go Max 1500 are all disposable vapes, while the Go 3000, Go 5000 and Go 8000 are rechargeable disposable vapes.
Charge methods for the Go 3000, Go 5000 and Go 8000 are similar. Just find the compatible Type-C charging cable and plug it into the charging port at the bottom of the vape device.
Then, wait for no longer than 90 minutes to get a full charge. When recharge is done, plug out the Type-C charging cable from the device and the power source.

