Have you ever met malfunctions with your Vuse ePod 2? Such as reduced vapour production and a tighter draw.
The guide written by VapePenZone NZ after testing 25 Vuse ePod 2 will help you learn how to reset Vuse ePod 2 easily.
5 steps to reset ePod 2 are below for your reference:
- Turn off the ePod 2 device
- Remove the pod from the device
- Clean the connection between the device and the pod
- Reinsert the pod firmly into the device
- Activate your ePod 2
Simply scroll down to follow the step-by-step guide, allowing it to assist you in resetting your ePod 2 and enjoying the best pod vape.
GOGO Shock E12000 Pod Bundle | Beginner-Friendly
The GOGO Shock E12000 is a top-choice vape pod system! With 10+ easy flavour swaps, a secure child lock, and a smart LED indicator, it suits every vaper. Get yours at VapePenZone New Zealand with bundle deals starting from just $39.98!
Introduction
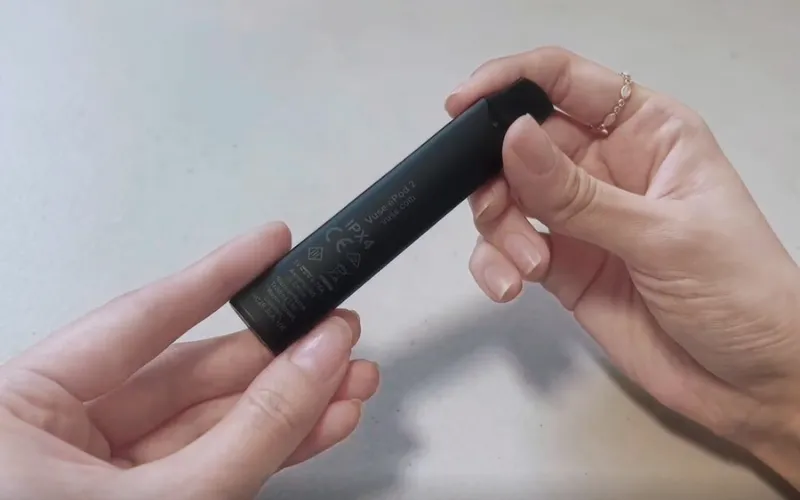
This guide to resetting your ePod 2 will benefit you whether you’re facing technical issues or just want to know how to do so.
In order to allow more vapers to avoid the hassle of vaping interruptions through a simple reset.
Our team from VapePenZone NZ has reset 5 ePods 2 to revive them successfully for continued vaping.
So we record and conclude 5 detailed steps as follows to revive your vape device.
Follow along as we walk you through the process and no technical expertise is required.
It only takes 2 minutes to get your ePod2 back to optimal performance.
How To Reset Vuse ePod 2 Easily?
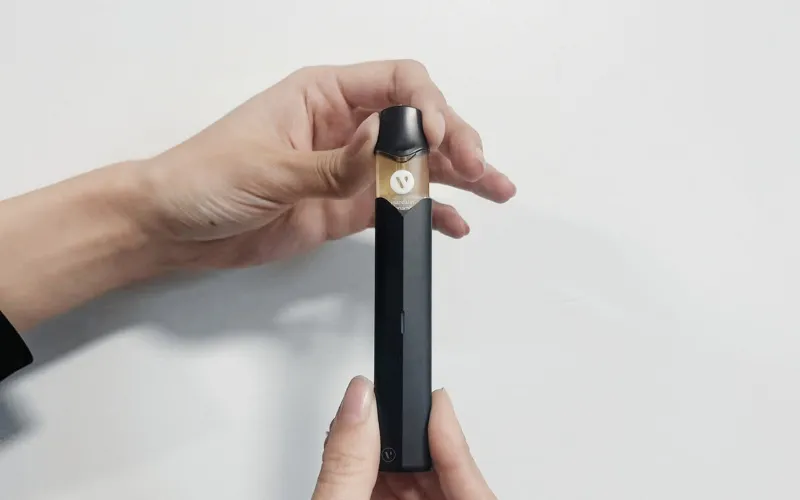
Performing a reset on your ePOD 2 can often resolve various issues. Please make sure your device is charged before resetting it. Otherwise, it still won’t work.
#1 Turn off the ePod 2 device
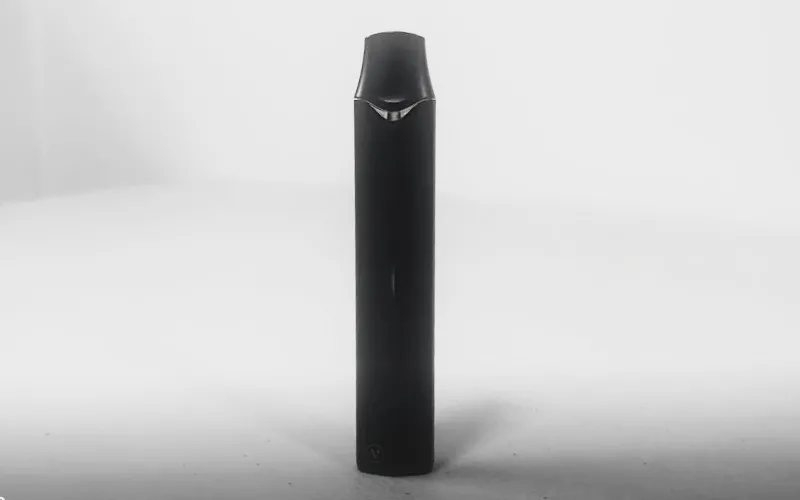
If your device is activated now, the first step is to turn off your vape.
You need to avoid any further activation attempts and allow the device to remain inactive for at least 5 seconds.
This waiting period is crucial as it allows any residual electrical charge within the device to dissipate fully. Ensure that the device is completely deactivated.
#2 Remove the pod from the device
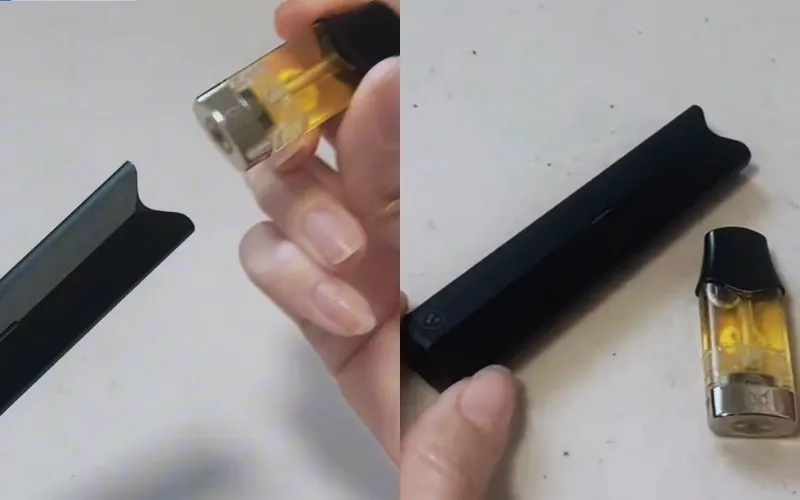
Once you’ve confirmed that the vape device is fully deactivated, the next step is to remove the ePod from the device.
Using your hands, gently grasp the vape pod and pull it away from the device.
Vuse ePods are designed with a magnetic power connection, making it easy to detach them from the device without the need for excessive force or tools.
The magnetic connection ensures a secure attachment while still allowing for easy removal when needed.
Take care to grip the pod firmly but gently to avoid damaging it during removal.
#3 Clean the connection between the device and the pod
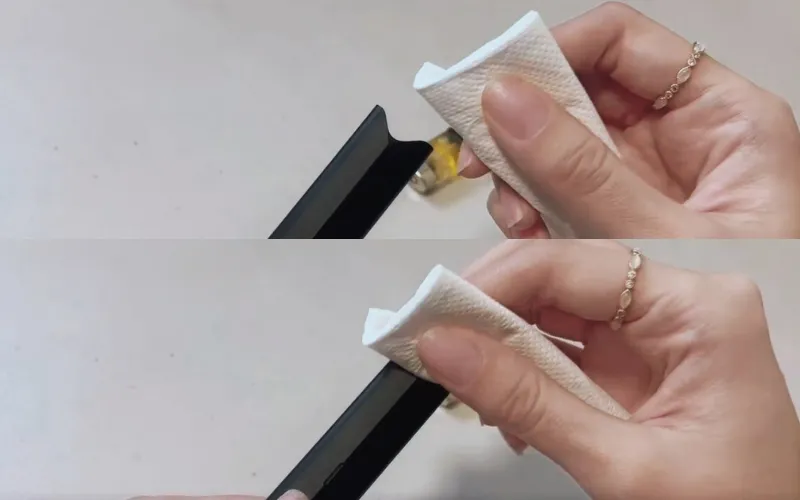
After removing the pod from the Vuse 2.0, inspect the device and pod for dust, dirt, or residual e liquid nz.
Remove dust and dirt from the device and pod surfaces by gently running a paper towel or rag in circular motions.
Pay close attention to areas where dust may accumulate, such as connections and pod surfaces.
If necessary, slightly dampen the rag with water or use a wet wipe to help remove stubborn residue.
However, to prevent damage, avoid soaking the rag or allowing moisture to enter the device.
Place the cleaned parts in a well-ventilated area and let them air dry for a few seconds or minutes, depending on the humidity at the time of cleaning.
They must be allowed to dry thoroughly before they can be reassembled and used.
#4 Reinsert the pod firmly into the device
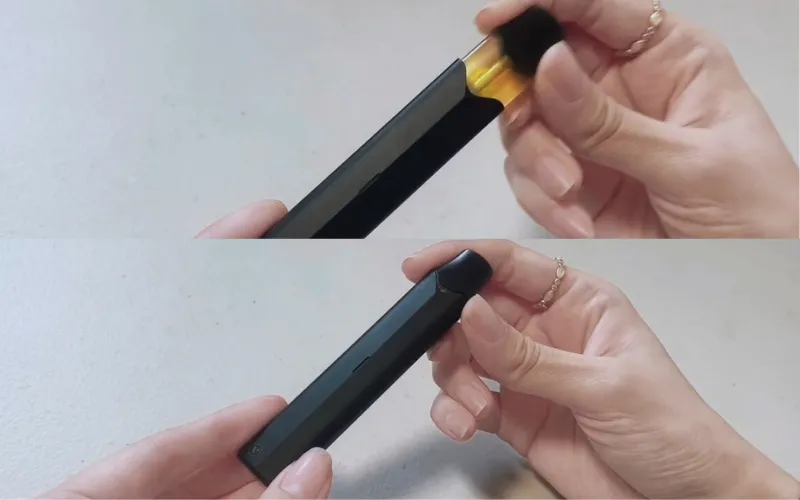
Once the ePod 2 and the pod have been cleaned and dried, it is time to reassemble the components.
Begin by aligning the bottom of the pod with the opening on the Vuse 2.0 device.
Take care to ensure that the pod is inserted in the correct orientation so that the contacts on the bottom of the pod face the connection points on the device.
As you gently push the pod into place, you will feel the magnetic attraction between the pod and the device.
Continue to apply light pressure until you hear or feel a distinct click, indicating that the magnetic connection between the pod and the device is firmly engaged.
After successfully inserting the pod into the device, you will notice a white light emitting from the device.
This white light indicates that the pod is properly connected and recognised by the device.
#5 Activate your ePod 2
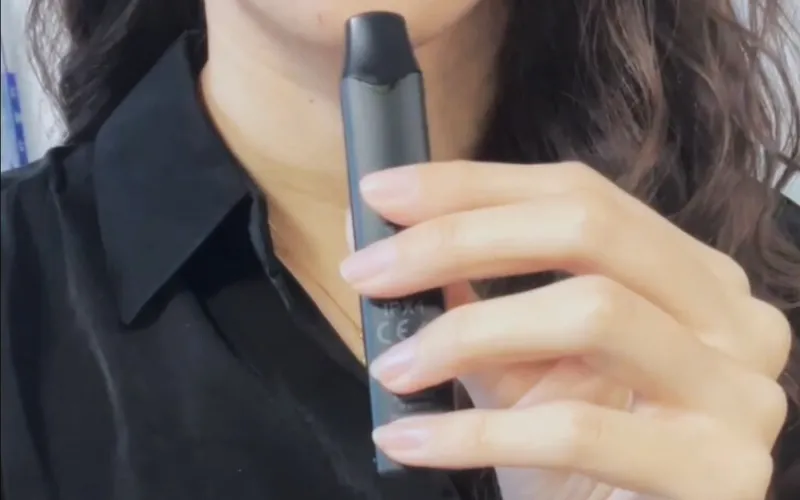
To activate your vape device, gently inhale air through the mouthpiece and observe the device’s response.
Note the sound of the heating element activating or the airflow through the device.
Also, note if the LED lights up white.
On exhalation, look for visible vapour coming out of the mouthpiece and whether a white light comes on during inhalation and gradually goes out with the exhalation.
When Should To Reset Vuse ePod 2?
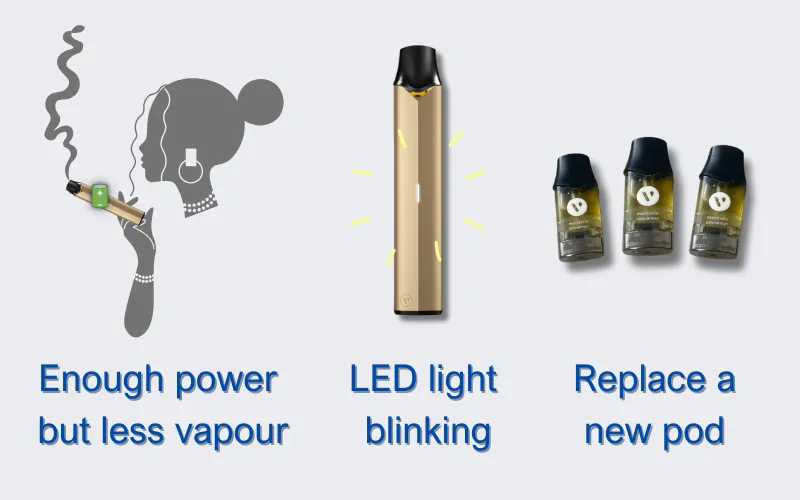
Once you’ve mastered the 5 steps to resetting your vape, the next question arises: when is the ideal time to reset your device? Let’s explore this question below:
🔋Enough power but less vapour
Despite having sufficient power, experiencing less vapour production could be attributed to the accumulation of e-liquid residue or debris in the airflow channels of your device.
Over time, these residues or debris may build up, leading to blockages in the airflow channels.
This impedes the smooth passage of air and diminishes the efficiency of vapour production.
Therefore, it’s essential to reset and clean your device when it has less vapour.
📌Replace a new pod
When you want to change your vape flavour or run out of e-liquid in your pod, it’s time to reset the vape, put in a new pod, activate and vape again.
💡LED light blinking
If the indicator light blinks continuously, it’s time to reset your device to check if there’s a wrong connection.
Sometimes, poor vapour production can be caused by loose connections between the battery and the heating element.
Overall, resetting your ePod2 is a simple troubleshooting step that can help address various issues that may be affecting vapour production.
However, if resetting the device doesn’t solve the problem, you may need to investigate further or seek assistance from the manufacturer or a knowledgeable vaping professional.
How To Unlock Vuse ePod 2?
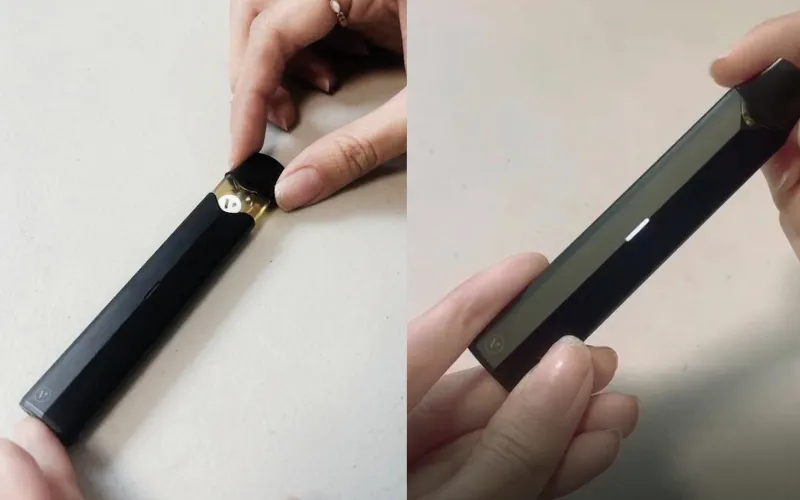
Have you also encountered the device auto shutdown, don’t worry, this is Vuse Vape NZ‘s auto shutdown protection mis-touch design.
If the device is not used for more than 5 seconds, ePod2 will automatically shut down. Here are 3 steps to unlock it:
- Make sure your device is charged.
- Insert a pod into the device, and you will see a white light.
- Simply take the first puff and unlock it.
When drawing, you will notice the white light coming on and then fading out.
If you find that the device is not working, this may mean that your ePOD2 battery has run out of charge, you need to place it on charge.
Specific charging steps can be found in this article: How To Charge Vuse ePod 2? Reveal 5 Charging Secrets
Verdict
If you are having technical issues with your ePod 2, I hope this reset guide will help you to continue using your Vuse Epod 2 vape.
If your vape still doesn’t work, we hope the VapePenZone vape shop‘s promotion will give you a new vaping experience.
Lastly, feel free to leave a comment and let me know if you experience any other vape issues.
FAQ About How To Reset Vuse ePod 2 Vape
How to reset VUSE ePod 2 pro?
Here are 5 steps to help you reset your ePod 2 pro, please make sure your device is charged before resetting.
1. Turn off the Vuse device
2. Remove the pod from the device
3. Wipe the connection between the device and the pod
4. Reinsert the pod firmly into the device
5. Activate your Vuse ePod2+
Why is my Vuse ePod 2 vibrating and flashing red?
If you activate the Vuse ePod2+’s lock using the button or MyVuseApp.
The LED indicator will turn red, and the device will vibrate, prompting you to unlock it.
During this time, no vapour will be produced. To unlock the device, simply press the button quickly three times or use the MyVuseApp.
What does the button on the side of the Vuse ePod 2+ do?
The VUSE ePod 2+ is equipped with a side button that serves multiple functions, including Bluetooth pairing and locking or unlocking the device.
How do you unlock the Vuse ePod 2?
To activate it, you just need to draw the first puff on the mouthpiece of the Vuse ePod2 to use the draw activation feature.
